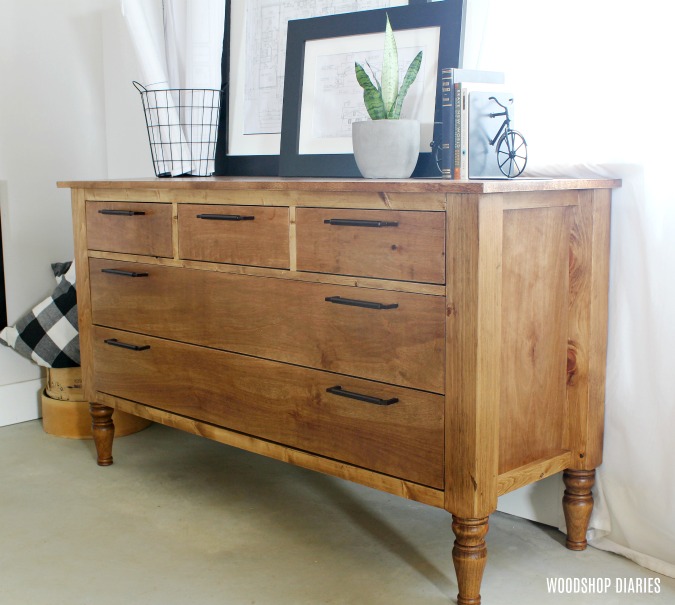
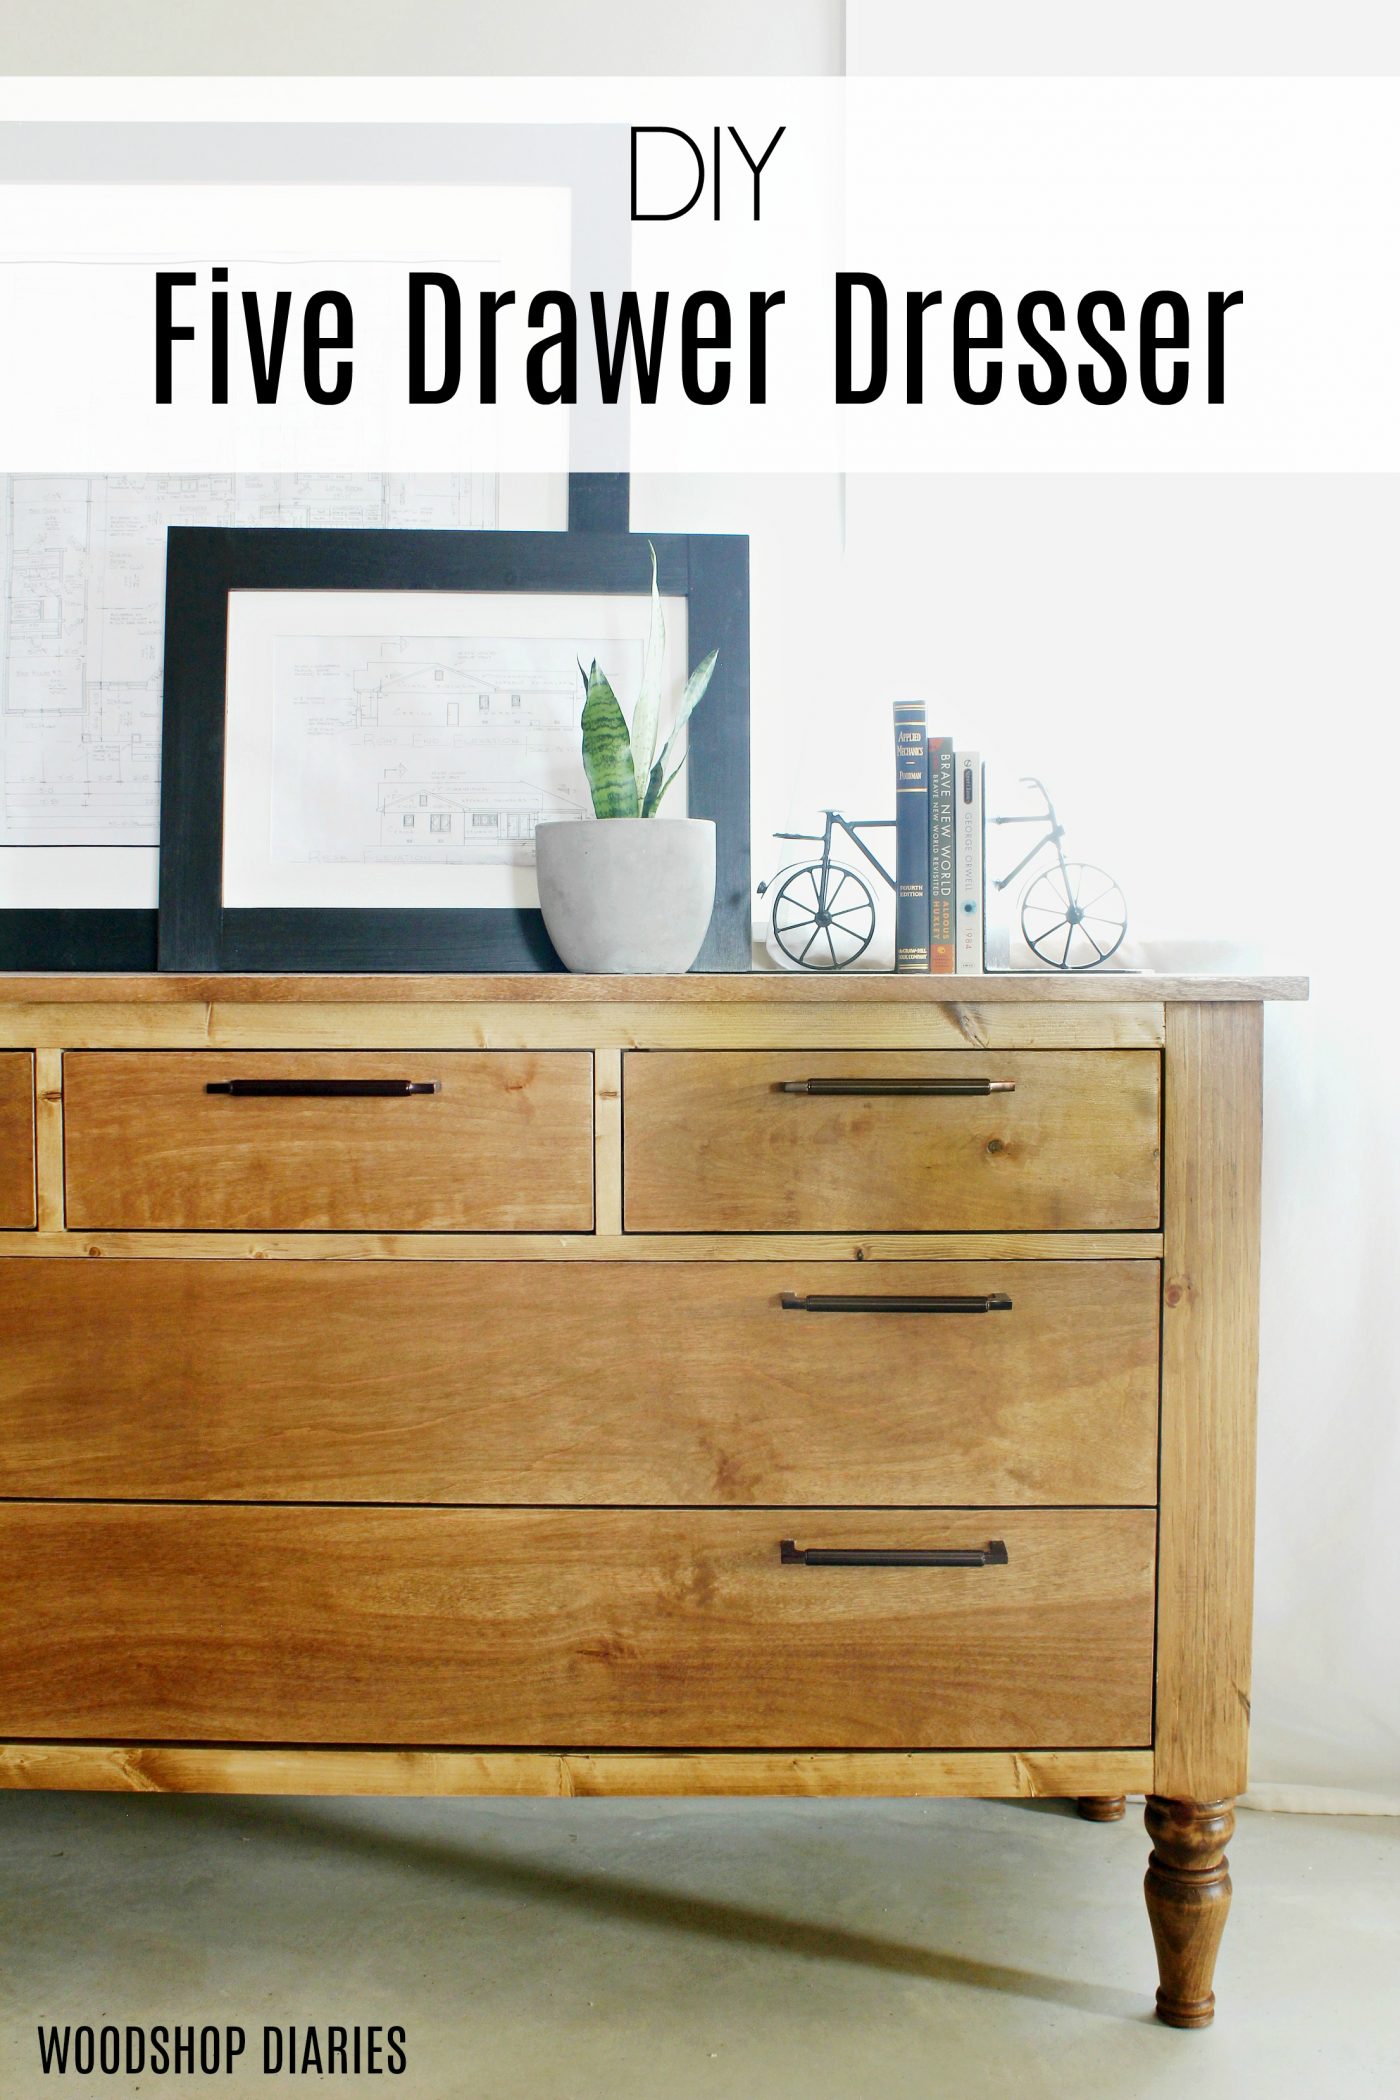
Three Drawer Dresser With Book Shelf Plans
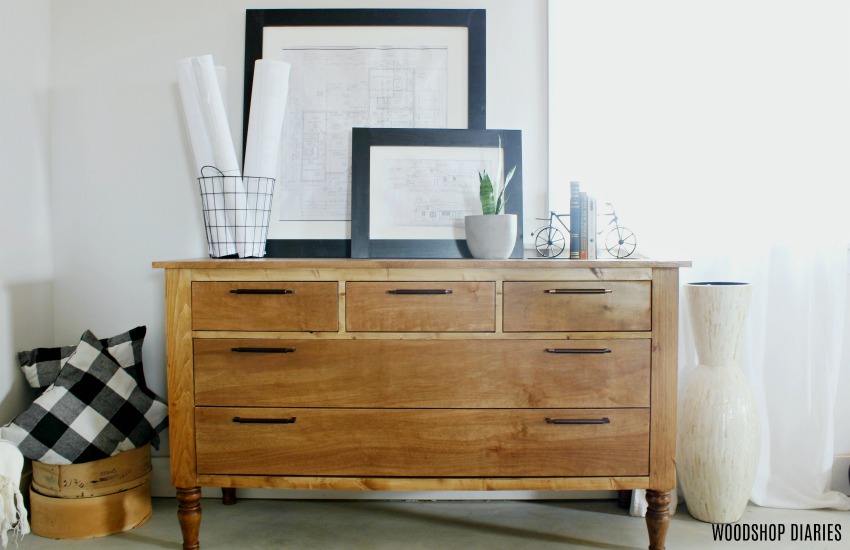
In this mail, I'll prove y'all how to build your own v drawer DIY dresser!
I beloved a skilful DIY Dresser build. Yous may have guessed that considering I've built several haha.
.
Each one has it's own personality and it'due south own design. But this 1 is 1 of my favorites!
.
I call back it's the legs. Want to know something funny? They're actually vanity legs–non dresser legs. I actually used some exactly like it to build a bathroom vanity a while dorsum.
.
But, if you are ready to become building your own DIY dresser merely like this one, I've got the YouTube video tutorial hither and the step by footstep directions and plans below!
This post contains chapter links. Please see disclosure policy.
For this DIY Dresser build you volition need:
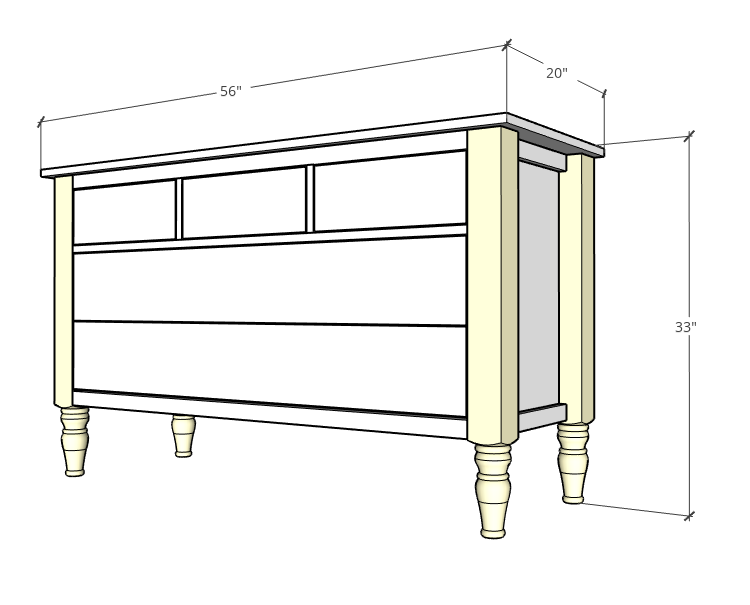
Some Notes Nigh the Build:
The overall dimensions of this dresser ended up beingness 20″ deep, 33″ alpine, and 56″ wide.
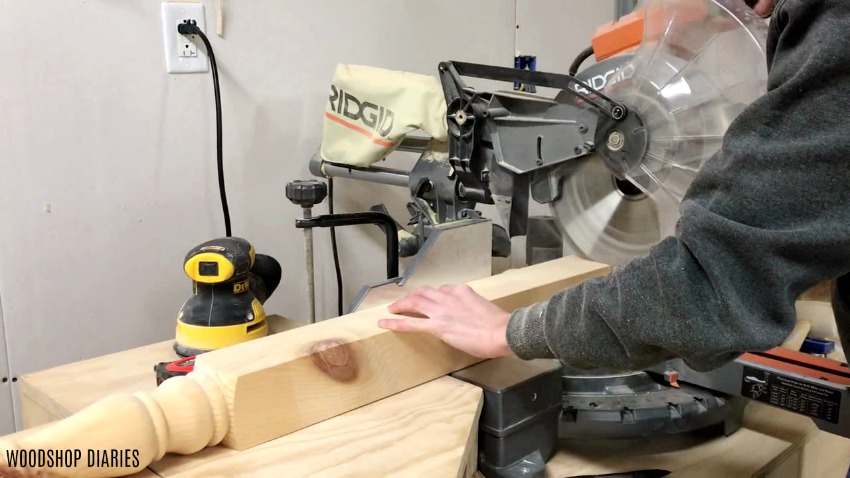
Stride 1: Gather Side Panels
I made this dresser 33″ tall overall, so subtracting the ¾″ plywood height, I needed to cut my legs 32 ¼″ long.
.
These legs come 34 ½″ long, so if yous don't want to cut them downward, yous don't have to. Only I cut mine to 32 ¼″ long.
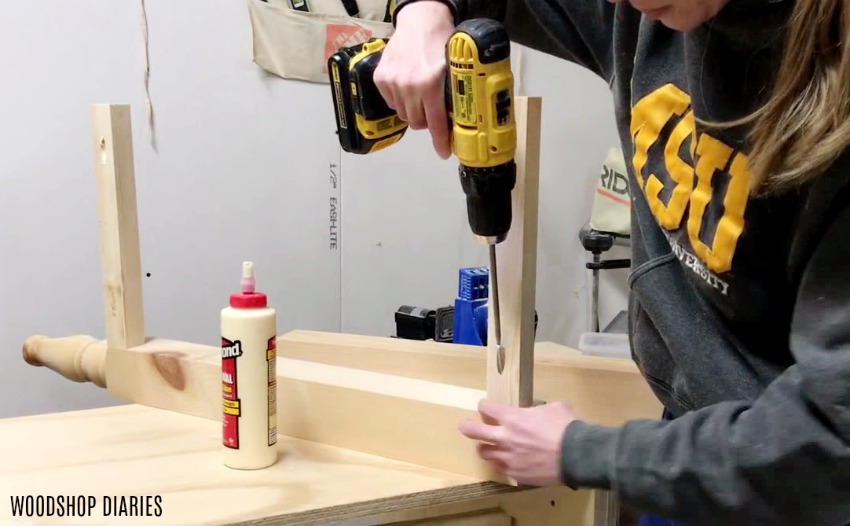
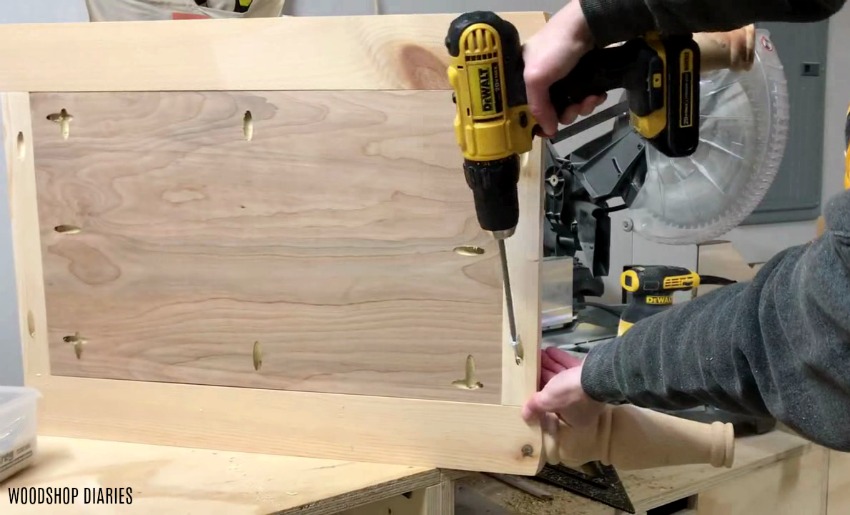
Once the legs were trimmed down, I cut iv 13″ long 2×two side frame pieces fastened like shown using 1 ½″ pocket holes and two ½″ pocket pigsty screws and woods gum.
.
I left a 21 ½″ infinite between the 2x2s and likewise attached them FLUSH to the INSIDE of the leg. I had 2 of these, obviously, one for the left, one for the right of the dresser.
So I used my round saw and Kreg Rip Cut to cutting down ¾″ plywood panels to fit inside this frame.
RELATED: Check out how to cut down plywood sheets with this footstep by pace guide.
.
I drilled ¾″ pocket holes along the edges of the plywood panel, then installed it and the other leg onto this frame to complete the two sides of the dresser.
RELATED: Acquire how to utilize a pocket pigsty jig in this post.
.
TIP: Attaching this plywood console flush to the inside of the leg helps after with installing the drawer slides. If it wasn't flush, you would have to use spacer blocks to mountain the drawer slides to.
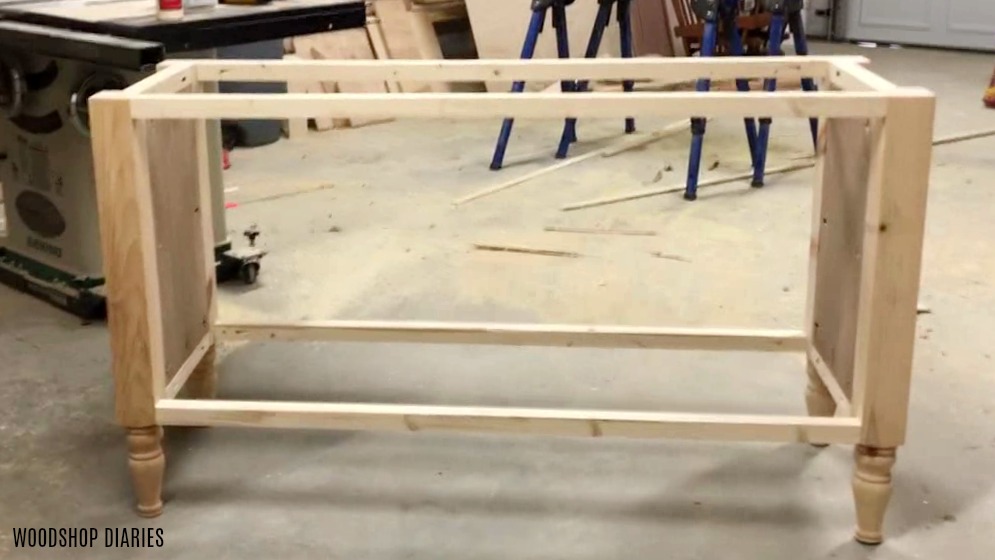
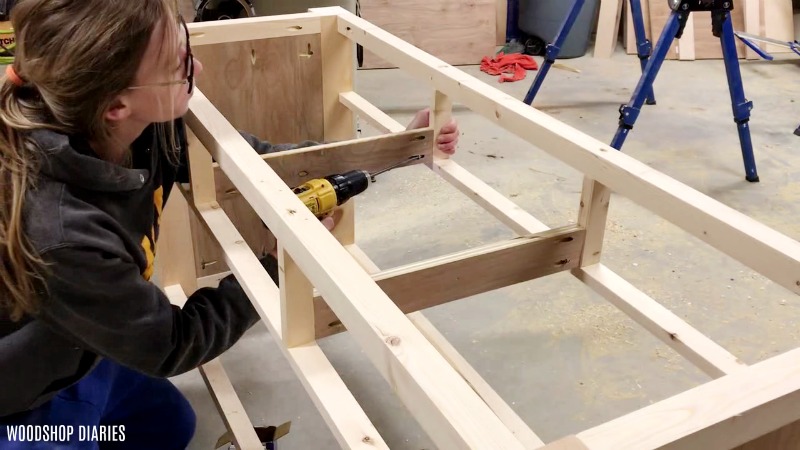
Step 2: Assemble the Frame of the DIY Dresser
Next, it was fourth dimension to combine the two side panels and brand the dresser frame.
.
I cutting four 2x2s to 48″ and drilled one ½″ pocket holes into each end of each piece and attached like shown using wood glue and two ½″ pocket pigsty screws.
RELATED: How to cut your own 2x2s.
.
There should exist 21 ½″ between the superlative and lesser frame pieces just like on the side panels.
.
Side Note: For ii×2 and 1×2 cloth, I always drill one pocket hole in each terminate and use woods glue to help concord it in place. I've found using two pocket holes tends to cause the wood to crevice when you bulldoze the screws.
RELATED: How to use pocket holes
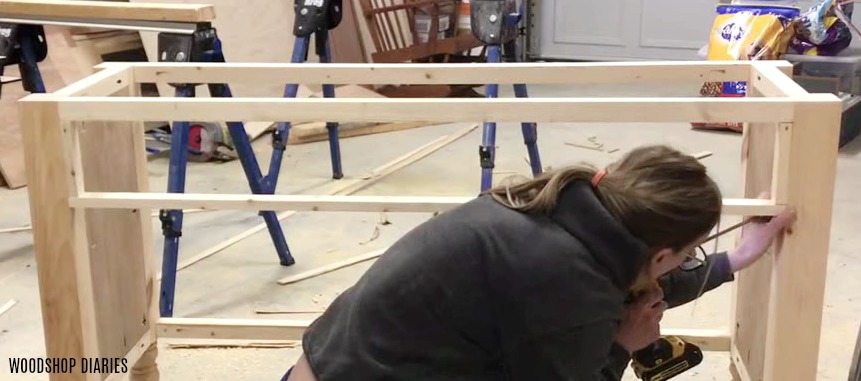
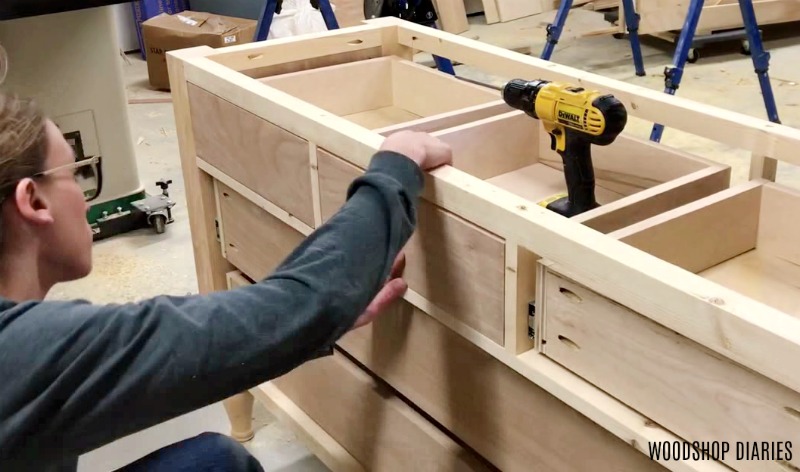
Step 3: Add together Drawer Dividers to Dresser
I added drawer dividers to the dresser both for looks and for role. I like the separation betwixt the small top drawers and the big bottom drawers, BUT this besides makes for an piece of cake manner to mountain drawer slides for those top drawers, every bit well.
.
I cut ii 1x2s at 48″ long, drilled ¾″ pocket holes into the ends, and fastened like shown on the front and the dorsum side of the dresser using wood glue and i ¼″ pocket pigsty screws.
.
I fastened these then that in that location was a 6″ opening between the top 2×2 and this 1×2 divider piece.
And then, I screwed half dozen″ long i×2 pieces between the two×ii and i×two to divide the top three drawers.
.
I just used regular ii″ woods screws through the meridian 2×2 and i ¼″ wood screws through the bottom ane×ii. I spaced these evenly so each drawer would exist the same size. The infinite ended up beingness 15 ½″ apart.
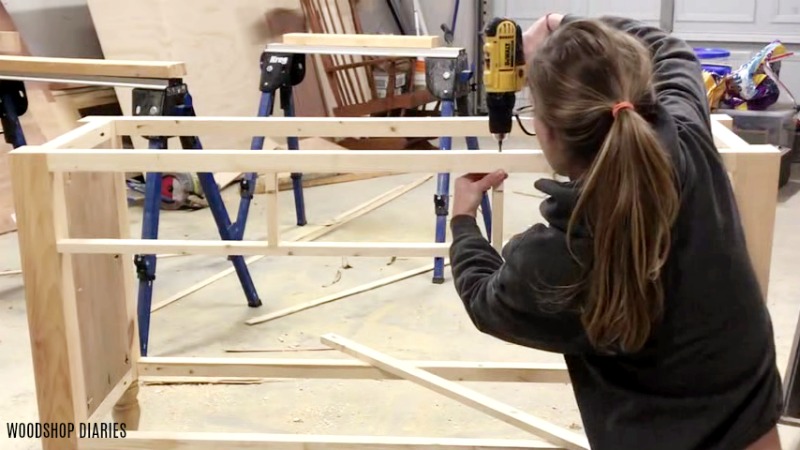
I did this on both the front end and back of the dresser. That way I could easily attach the next slice.
.
I cutting two pieces of ¾″ plywood scrap (simply yous could besides use ane×2 scrap if you wanted) to fit between these 1x2s and fastened like shown using ¾″ pocket holes and 1 ¼″ pocket hole screws.
.
This is what I mounted the top drawer slides to in the next pace.
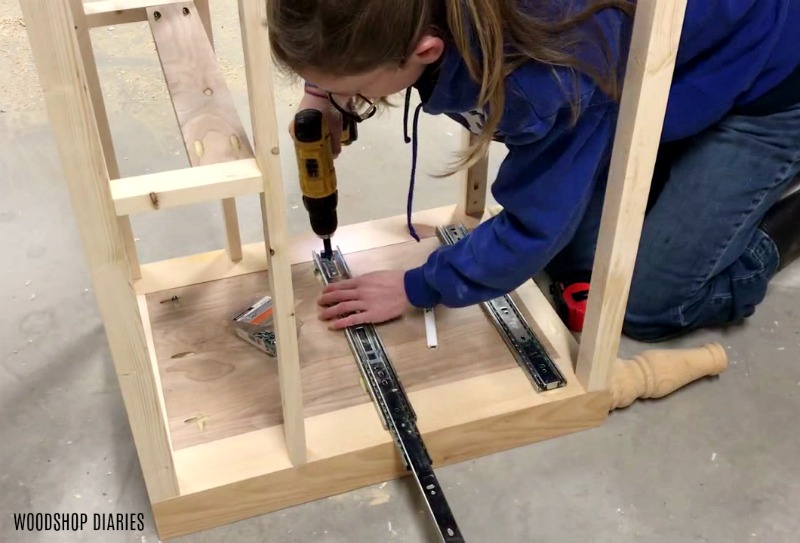
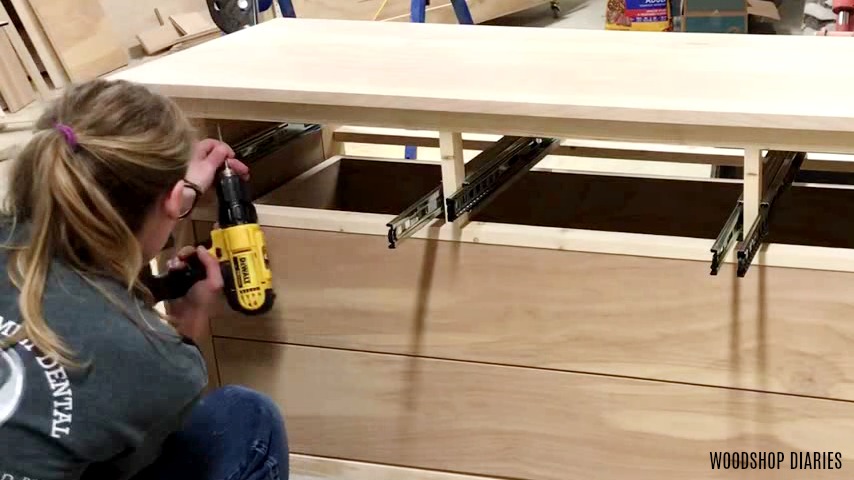
Pace 4: Attach Drawer Slides to DIY Dresser
Next, I attached 5 pair of xvi″ ball bearing drawer slides to the dresser body.
.
Two pair will go on the lesser section of the dresser for the bottom drawers and 2 pair on the top.
RELATED: How to install drawers and drawer slides
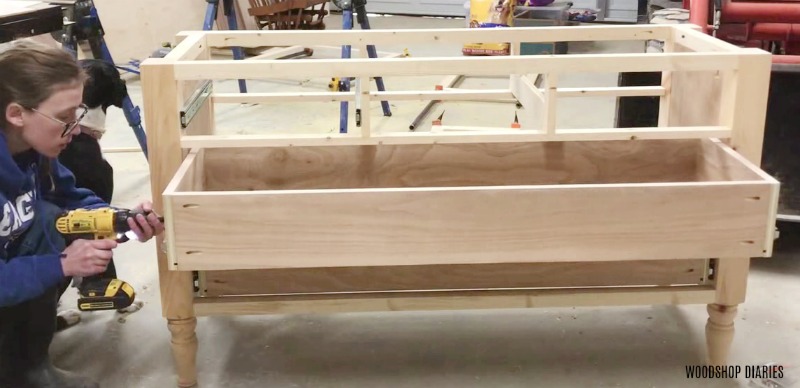
Step five: Build and Install Drawer Boxes
I cut all the pieces for the drawer boxes for all five drawers from ¾″ plywood. So, I cut ¼″ deep x ¼″ wide dadoes ½″ from the bottom side of all the drawer pieces on my table saw. This is then I could install the ¼″ plywood bottom panel within.
RELATED: I accept a detailed guide for building drawer boxes here.
.
All the dimensions can be found in the printable plans hither.
.
HOWEVER, if yous don't take a table saw, yous could also employ a router with a ¼″ directly bit to cut the dadoes. OR y'all can skip the dadoes altogether and just glue and staple the plywood onto the lesser of the drawer box.
.
I assembled these drawer boxes using pocket holes and screws and was sure to install the ¼″ plywood bottom before attaching the quaternary side of the drawer box.
And then, I installed the drawer boxes into the dresser frame.
.
I used fleck spacer blocks to ready the boxes on to prevent them from rubbing anything when they were opened and closed. Then, I pulled the slides out and drove the screws into the slide.
.
This drawer building guide walks you through how to install drawer boxes step by step.

For a cleaner wait, employ iron on edge banding to the meridian side of the drawer boxes to cover the plywood edges.
RELATED: How to employ atomic number 26 on edge banding
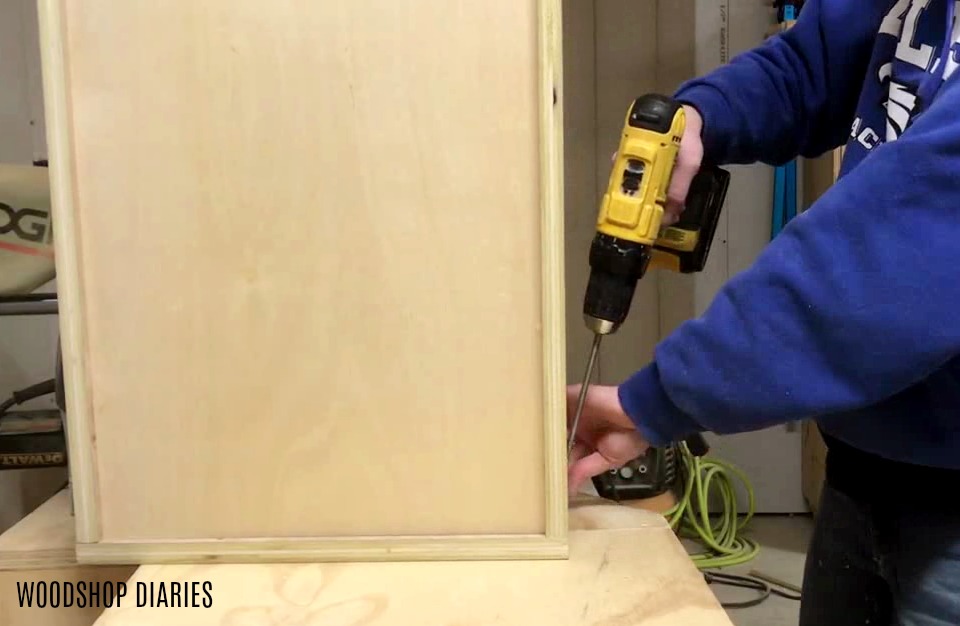
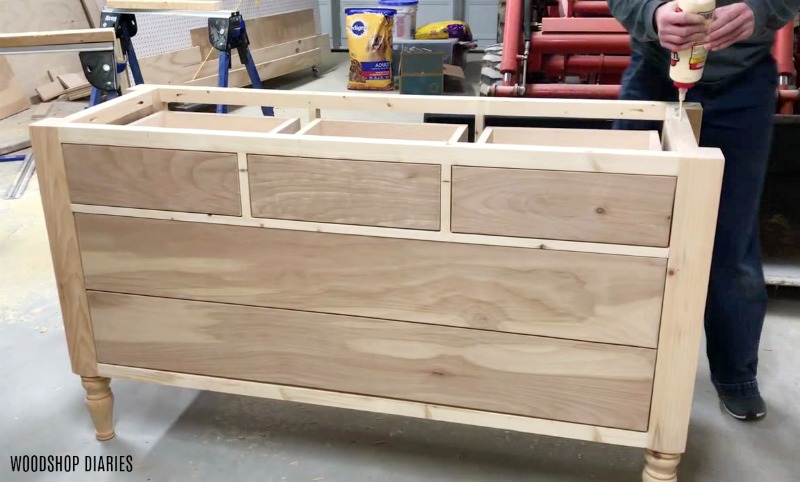
Footstep 6: Add together Drawer Fronts
I always cutting my drawer fronts to fit simply in example I get anything off a petty in the build.
.
I ever attempt to exist careful, simply no one is perfect and it'southward always best to mensurate your drawer opening and subtract ¼″ off each dimension so that you will have a ⅛″ gap on all sides of the drawer front end.
.
One time I had my drawer fronts cut from ¾″ plywood, I attached border banding around all sides for a cleaner look. Then I placed them onto their drawer, and screwed in identify from the inside of the drawer box leaving ⅛″ gap on all sides.

Stride seven: Add together Top to DIY Dresser
I cutting the ¾″ plywood height 20″ x 56″ to allow for a i inch overhang on both sides and a one inch overhang on the front.
.
I practical edge banding to embrace the plywood edges.
.
To adhere, I practical wood glue along the peak of the dresser and so placed the acme on and made certain everything was centered with i″ on each side.
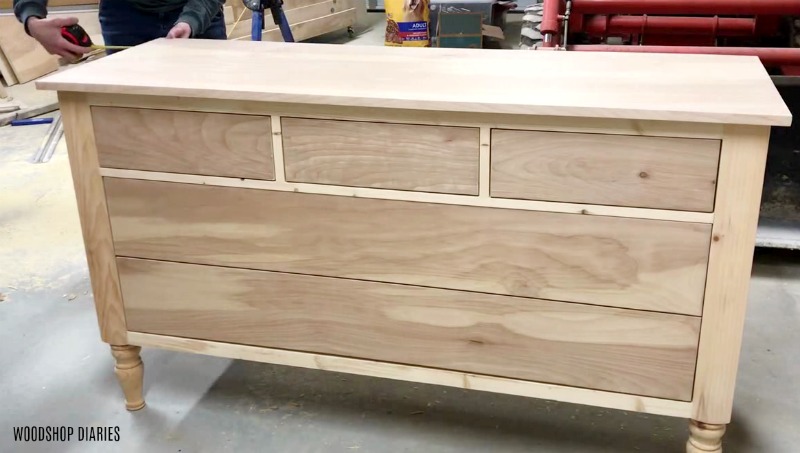
So, I used 2″ woods screws to attach the elevation to the dresser through the peak frame 2x2s along the forepart and dorsum.
.
You'll have to remove the top drawers to access this 2×ii.
.
Ball bearing drawer slides take little tabs on the side to brand drawer removal and re-install very like shooting fish in a barrel. You but flip the tabs and pull out, so slide the drawer back in when you're done.
The final step is to finish as desired AND add a backer…if desired. I get back and forth with backers on pieces that have drawers.
.
Backers (only a piece to embrace the back side) really finish out the piece. HOWEVER, I can't tell you lot how many times I've filled my drawers also full and gotten stuff stuck back there and cant reach to go it out.
.
That'due south when, if you don't have a capitalist, you can only reach around the dorsum side of the dresser and articulate the jam. There are pros and cons to having a capitalist on a dresser.
.
Then information technology'southward a personal preference. Add together the capitalist, don't add the backer…it's upwardly to you. Just if you practise, merely cut and place ¼″ piece of plywood centered on the dorsum side and staple in place.
.
And if yous are curious about the stop hither, I went simple with Minwax Early American stain and a clear glaze of water based poly on top.
RELATED: How to finish raw woods furniture
.
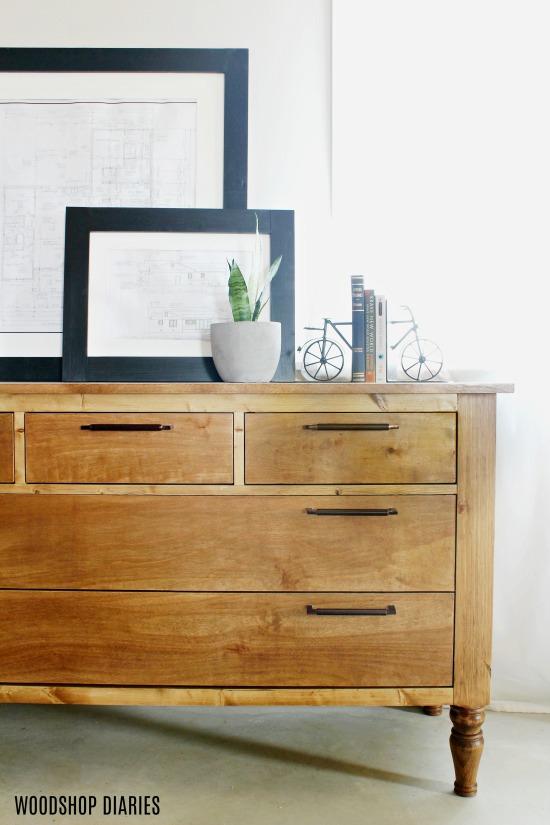
Then I added my favorite drawer pulls ever–the aforementioned ones I used on my nightstands and in my new kitchen (just in varying sizes).
I was really excited about how this dresser turned out, and honestly, I just actually love HUGE drawers. These big bottom drawers would be SO Proficient for large bulky sweaters, fluffy blankets, and things that just accept up a lot of room.
.
Because who wants to waste product a whole dresser drawer with just i big fluffy blanket??
Don't forget to check out the building plans if yous want to build your ain. You can grab them here.
.
If you enjoyed this project and want to meet more, subscribe to my newsletter so yous go outset access to brand new projects and plans.
And if yous liked this project and want to save it for later on, I would love if you give it a pin or share it on your favorite social aqueduct and be sure to bank check out the video 🙂
Until next fourth dimension, happy building 🙂
Source: https://www.woodshopdiaries.com/build-your-own-diy-dresser/
0 Response to "Three Drawer Dresser With Book Shelf Plans"
Post a Comment